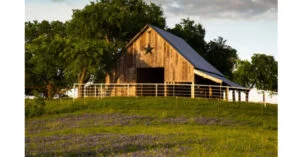
If you enjoy country life or just like taking walks away from busy cities, you may have noticed barn stars. These stars are often found above barn doors, either painted on or made of metal, and they serve as interesting decorations with a rich history.
But what do barn stars really mean? Where do they come from? If you’ve ever wondered about this, you’re in the right place. This article will explain a bit about barn stars and might even teach you something new.
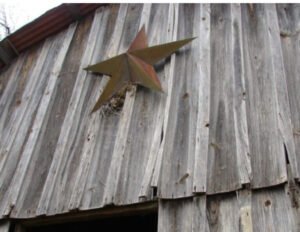
The history of barn stars goes back over a hundred years, although there is some debate about their original purpose. Some sources say that these stars were first used to show who built the barn, acting as a sign to let everyone know who was responsible for constructing it.
According to The Copper Star, barn stars became popular after the American Civil War and can be traced back to at least the 1820s in Pennsylvania. Nowadays, people often associate barn stars with good luck and prosperity. Interestingly, the different colors of the stars each have their own special meanings too!
That’s right! Each color of barn stars has its own meaning. German-American farmers, for instance, placed these stars at the top of barns to keep away evil spirits and to help ensure a good harvest.
Barn stars are a tradition that has been passed down over the years and are believed to come from the Pennsylvania Dutch and Amish communities.
Interestingly, the different colors of stars represent different ideas. For example, brown stars symbolize friendship and strength, while white stars stand for purity and energy. A violet star represents holiness, and blue or black stars are meant to protect the farm.
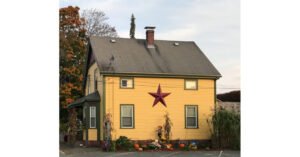
Green stars symbolize growth and fertility for the crops, while bright yellow stars express love for both people and the sun.
Then there are “hex stars,” which are different from barn stars and showed up more than a century later.
You may have seen hex stars from time to time. They first appeared in the 1950s. According to the Kutztown Folk Festival, the change from barn stars to hex stars started with a man named Milton Hill in 1952.
Later, in the late 1950s, a Pennsylvania Dutch folk painter named Johnny Ott added superstitious meanings to his designs. He found that these signs sold much better with added meanings. The trend quickly spread, and these designs became known as “hex signs.”
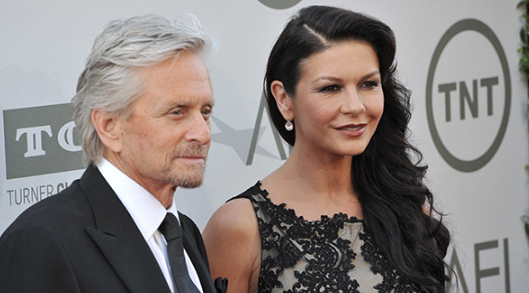
CATHERINE ZETA-JONES AND MICHAEL DOUGLAS CELEBRATE 23RD ANNIVERSARY WITH HEART-MELTING WISHES
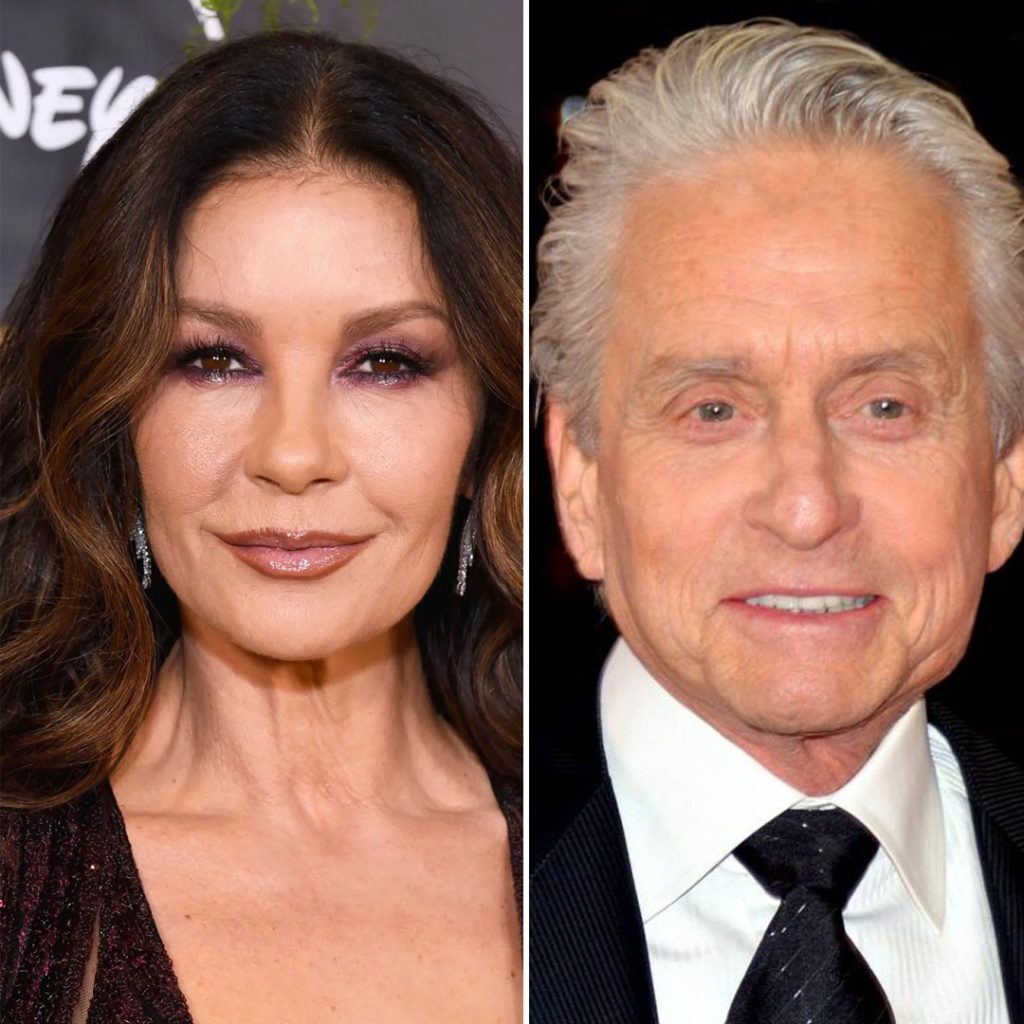
When Michael Douglas, then 54, caught sight of Catherine Zeta-Jones portraying Elena Montero in 1998’s “The Mask of Zorro,” he was instantly captivated.
In that same year, both Oscar-winning actors found themselves at the Deauville Film Festival, with Zeta-Jones promoting the film alongside Antonio Banderas, and Douglas attending for his movie, “A Perfect Murder.”
Following his instincts, Douglas had his publicist arrange a meeting.
However, things didn’t quite go as planned.
“I met her in the bar and was a complete gentleman,” shared the star of “Fatal Attraction” with People magazine. He recounted inviting her back to his room for a nightcap.
Later that evening, when the now 54-year-old star of “Ocean’s Twelve” joined him, he fumbled by saying, “You know, I’m going to be the father of your children.”
Douglas remembers her response: “You know I’ve heard a lot about you, and I’ve seen a lot about you, and I think it’s time that I say goodnight.”
Meanwhile, Zeta-Jones, whose breakout role was in “The Mask of Zorro,” believed the encounter with her future husband was purely work-related.
“I was going to a film festival. I thought Michael Douglas wanted to meet me for work because I knew he was a producer as well as an actor. I genuinely thought that because I was in work mode and I was going to a film festival, and that’s where film deals are made,” explained Zeta-Jones.
“So I never thought, ‘Oh my God, he wants to date me.’ And within hours of meeting me, he told me he wanted to father my children. So I presumed this was not for a job.”
But Douglas was undeterred. Knowing he would soon be filming “Entrapment” in Scotland, he arranged for roses to be delivered to her room upon her arrival.
In a 2019 interview with Access, Zeta-Jones joked, “You know what the worst thing is? He was right.”
Despite their initial hiccups, the couple, who share the same birthday with a 25-year age gap, have faced challenges. In 2013, they briefly separated, reportedly due to stress. However, they reconciled after a year apart.
In 2010, Douglas battled throat cancer, while Zeta-Jones grappled with bipolar disorder. But through it all, their love endured.
Recently, on their 23rd wedding anniversary, the couple, now grandparents, expressed their enduring love for each other. Sharing photos from their wedding and beyond, Zeta-Jones wrote, “Today we celebrate 23 years of marriage. Darling Michael, your Nobel Peace Prize awaits, I love you… from your darling wife, a gold star Medal of Honor recipient.”
Douglas also took to Instagram to share his sentiments, writing, “Happy 23 and Me, my darling @catherinezetajones. Can’t wait for 24! Happy Anniversary.”
“One netizen expresses, ‘I’ve always admired you both, which has fueled my love for all things classic… Happy Wedding Anniversary, my all-time favorite couple.’
Another shares, ‘The most charming and perfect couple!!! Congratulations!!’ While a third adds, ‘Remarkable! You’ve got to be one of the best couples in Hollywood for sure. I admire both of your work! Thank you for so many years of fantastic entertainment.’”

Leave a Reply