What Are Typewriter Eraser Brushes?
The circular objects in the image are typewriter erasers, which came with a small brush attached to them. The erasers themselves were made from soft materials like rubber, often infused with fine abrasives.
This combination was designed to remove ink or typewriter ribbon marks from paper, which was the
primary method of correcting mistakes on a typed document before the advent of white-out or digital editing.
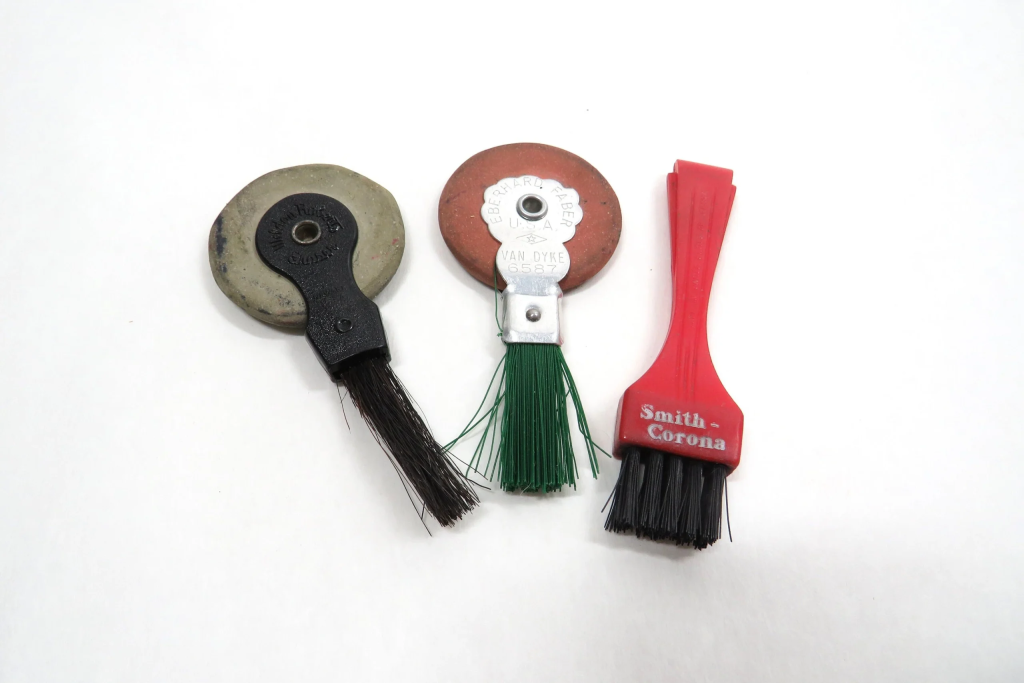
The small brush on the tool was used to gently whisk away the eraser debris left on the paper after erasing a letter or a word. In an age when typewriters ruled the business and literary worlds, these tools were essential to maintaining neat and professional-looking work.
A Snapshot in Time: When Eraser Brushes Were Essential
In the early to mid-20th century, typewriter eraser brushes were as common as correction fluid or digital backspace keys are today. Every typist had one on their desk because, despite their best efforts, mistakes in typing were inevitable. These tools allowed for correcting those mistakes without the need to retype an entire
page.
Back then, carbon paper was often used for making copies, so one mistake could mean fixing multiple sheets of paper. Eraser brushes were gentle enough not to tear the delicate paper yet effective at removing the erroneous marks.
The Decline of the Typewriter Era
With the rise of word processors and eventually personal computers, typewriters
quickly became obsolete. The need for such specialized erasers faded as digital
text allowed for instantaneous editing. Today, these erasers are rare relics from a
time when typing was both an art and a skill.
For those who remember using these eraser brushes, seeing one today is a nostalgic reminder of how much the world of writing and editing has evolved. The phrase “times have changed” has never been truer, especially when comparing the
challenges of fixing a typewritten document to the ease of modern technology’s undo button.
A Niche Collectible
Today, typewriter eraser brushes are considered collectibles. Vintage enthusiasts and lovers of retro office supplies value them for their simplicity and effectiveness. Though they might look out of place in a world dominated by digital devices, they serve as a testament to the ingenuity of past generations and the unique tools
that once supported everyday tasks.
Conclusion: From Essential to Obsolete
For those who’ve never used a typewriter, the tools in the image may seem mysterious, even obsolete. But for older generations, they bring back memories of the rhythmic clacking of typewriter keys, the smell of ink ribbons, and the ever- present eraser brush sitting nearby. Times have certainly changed, and as with many innovations, what was once essential now rests quietly in history’s archives
Cinco anos após a morte da minha esposa, levei minha filha ao casamento da minha melhor amiga. Quando vi a noiva, minha filha perguntou: “Papai, por que você está chorando?”
Cinco anos depois de perder minha esposa, minha filha e eu fomos ao casamento do meu melhor amigo. Mas meu mundo desmoronou quando ele levantou o véu da noiva. Enquanto minha filha sussurrava: “Papai, por que você está chorando?”, a noiva me olhou nos olhos — e naquele instante, tudo desmoronou.
Eu nunca planejei ir àquela festa. Meu amigo Mark teve que me arrastar até lá, prometendo que isso “me tiraria da minha depressão”.

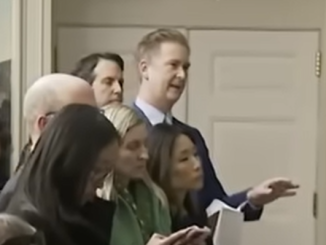
Dois homens caminhando pelo corredor de um prédio de apartamentos | Fonte: Midjourney
Eu estava trabalhando em turnos dobrados no canteiro de obras a semana toda, e meu corpo parecia que concreto havia substituído meus músculos.
“Só uma hora”, disse Mark, praticamente me empurrando pela porta de algum apartamento no centro da cidade. “Então você pode ir para casa e ser um eremita de novo.”
Engraçado como os maiores momentos da vida acontecem quando você menos espera.
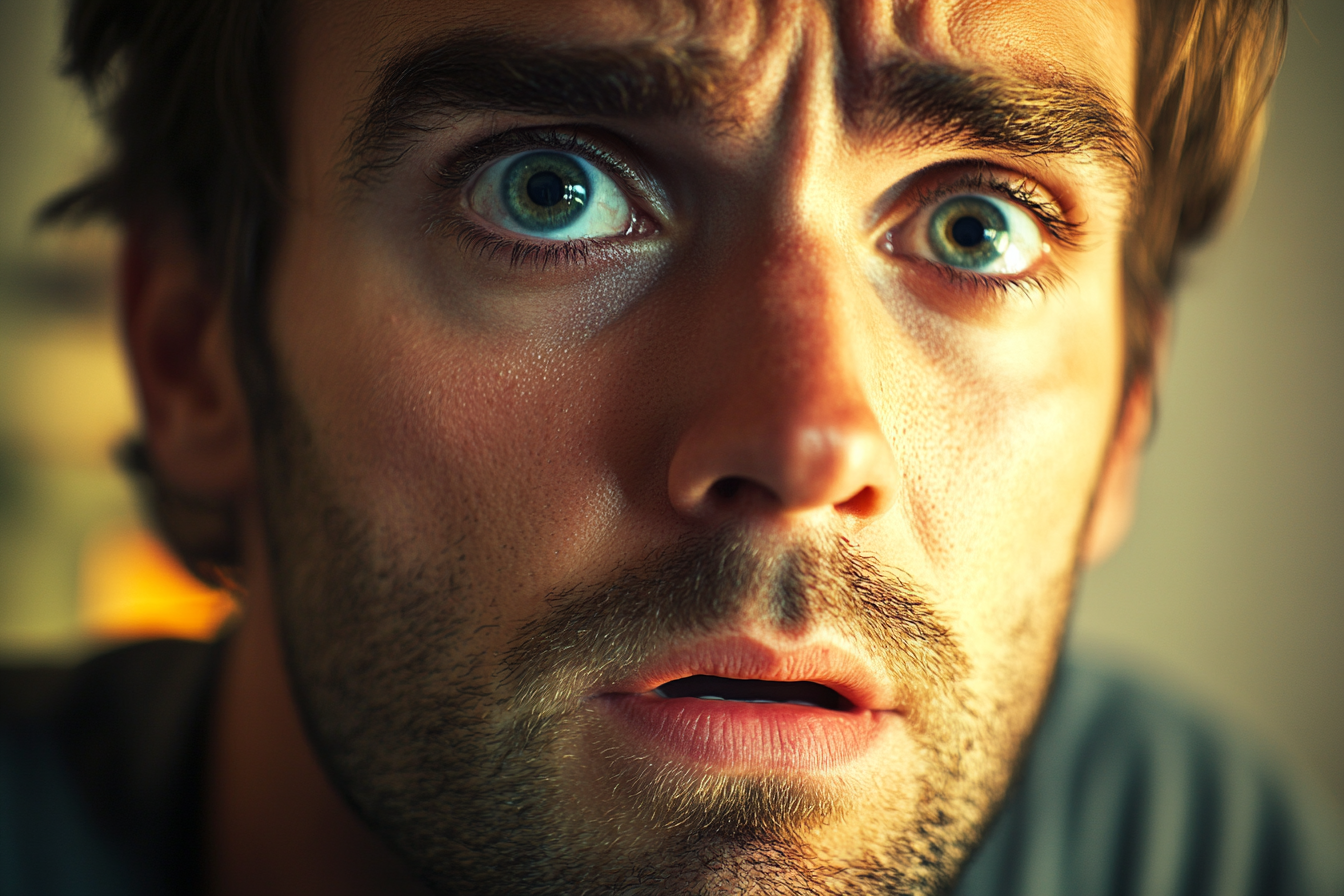
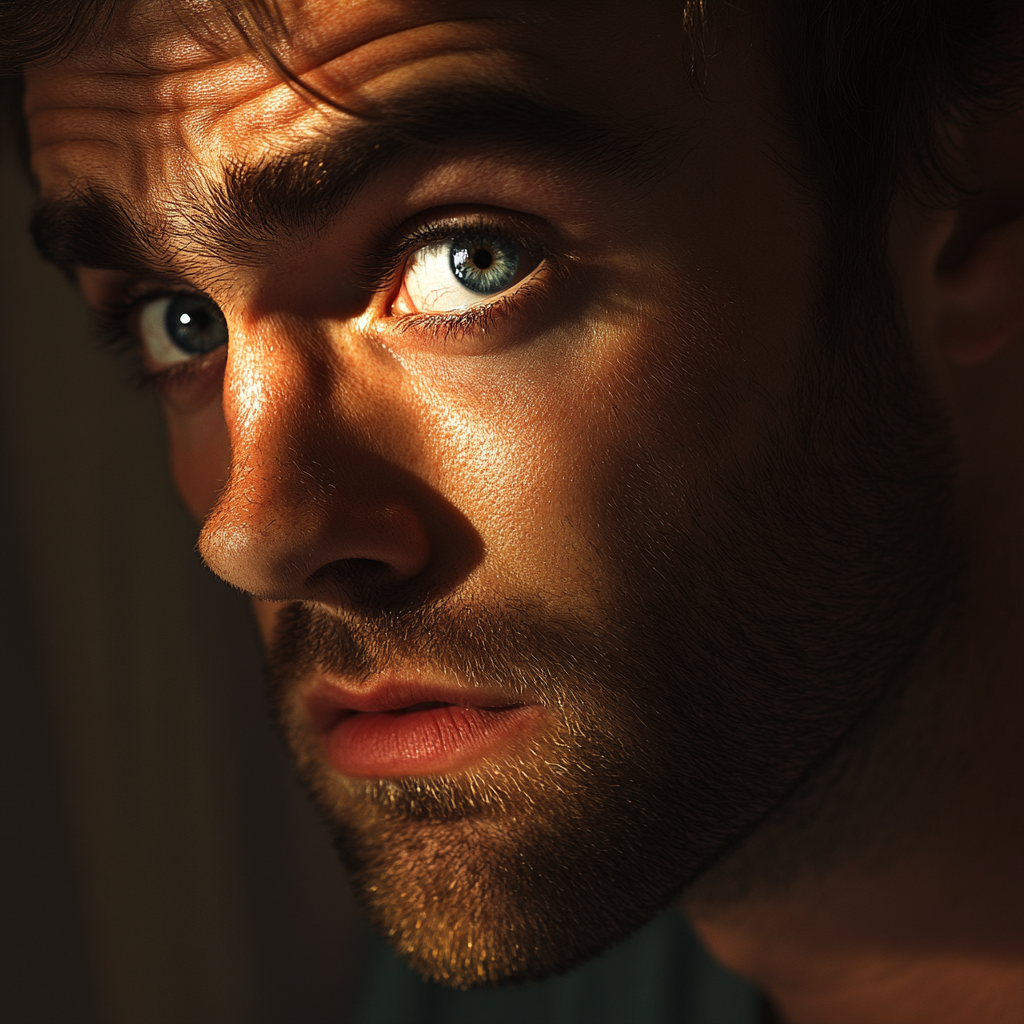
Um homem olhando incrédulo | Fonte: Midjourney
A festa estava cheia de pessoas que não pareciam ter levantado nada mais pesado do que uma taça de martini. Eu me senti deslocado com meu jeans surrado e minha camiseta desbotada.
Mas foi então que vi Natalie.
Ela também não deveria estar lá. Descobri depois que ela estava apenas deixando algo para uma amiga.

Uma mulher em um apartamento com decorações ao fundo | Fonte: Midjourney
Nossos olhares se encontraram do outro lado da sala, e algo se encaixou. Faíscas, conexão, como você quiser chamar; eu sabia que a queria na minha vida.
“Quem é essa?”, perguntei a Mark, acenando para ela.
Ele seguiu meu olhar e assobiou baixo. “Natalie. Não perca seu tempo, cara. A família dela é dona de metade da cidade.”
Mas eu já estava caminhando em sua direção.

Um homem caminhando entre os convidados em uma festa em casa | Fonte: Midjourney
Ela sorriu quando me aproximei, e aquele sorriso me atingiu como uma bola de demolição.
“Eu sou Jake”, eu disse, estendendo a mão.
“Natalie”, ela respondeu, sua voz suave, mas confiante. Sua mão era pequena na minha, mas seu aperto era firme. “Você parece tão confortável aqui quanto eu.”
Conversamos por horas naquela noite.

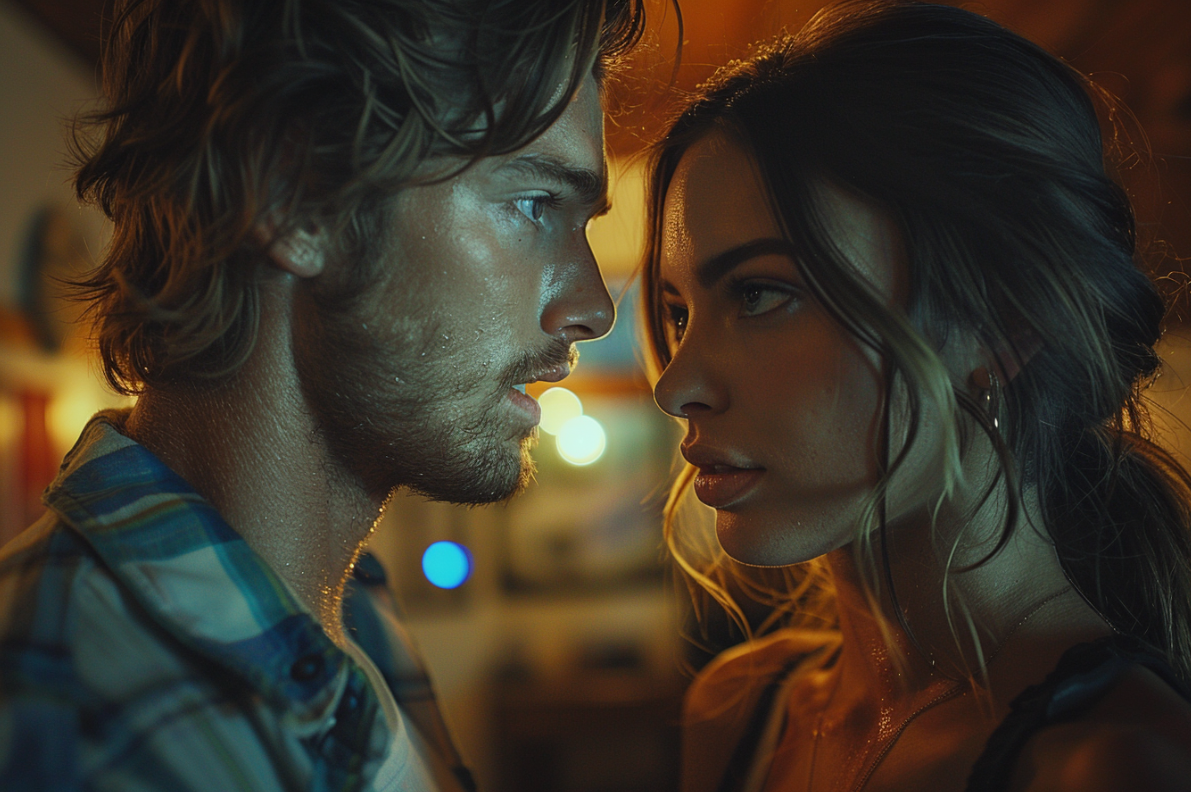
Duas pessoas conversando | Fonte: Midjourney
Ela não era o que eu esperava (nada de atitude de princesa fiduciária, apenas cordialidade e curiosidade genuínas) e, no final da noite, eu sabia que estava em apuros.
“Meus pais odiariam você”, ela disse enquanto eu a acompanhava até o carro, o luar refletindo em seus cabelos escuros.
“Isso é um problema?”, perguntei.

Uma mulher sorrindo para alguém | Fonte: Midjourney
Ela olhou para mim com aqueles olhos que pareciam ver através de mim. “Provavelmente. Mas acho que não me importo.”
Seis meses depois, nos casamos. Os pais dela não foram ao casamento. Eles a cortaram completamente: nenhum fundo fiduciário, nenhuma férias em família, nada.
Mas Natalie apenas apertou minha mão e disse: “Não me importo com o dinheiro. Eu só quero você.”

Um casal de mãos dadas | Fonte: Pexels
Por um tempo, foi o suficiente.
Nós nos mudamos para um pequeno apartamento de dois quartos. Eu trabalhava na construção durante o dia e fazia aulas noturnas de design arquitetônico. Natalie conseguiu um emprego em uma galeria local. Estávamos felizes, ou assim eu pensava.
Então Emma nasceu e algo mudou.

Uma mulher com um olhar distante nos olhos | Fonte: Midjourney
O calor nos olhos de Natalie começou a desaparecer. Ela começou a comparar nossa vida com a que ela havia deixado para trás.
“Minha colega de quarto da faculdade acabou de comprar uma casa de férias nos Hamptons”, ela mencionou uma noite enquanto comíamos macarrão com queijo em nossa pequena mesa de cozinha. Emma estava dormindo em seu berço ao nosso lado.
“Que legal”, eu disse, sem tirar os olhos das plantas que estava estudando.

Um homem estudando plantas | Fonte: Pexels
“Ela nos convidou para uma visita. Tive que dizer a ela que não tínhamos dinheiro para a viagem.”
Senti a dor das palavras dela. “Estamos bem, Nat. As coisas vão melhorar.”
“Quando?” ela perguntou, sua voz afiada. “Quando Emma estiver na faculdade? Quando estivermos aposentados? Estou cansada de esperar por ‘melhor’, Jake.”
Nossas discussões se tornaram mais frequentes.
Um casal tendo uma conversa intensa | Fonte: Midjourney
Ela odiava fazer orçamentos e desprezava nossa vida humilde.
“Não foi para isso que me inscrevi”, ela dizia.
Como se eu a tivesse enganado de alguma forma. Como se o amor fosse pagar as contas.
“Você sabia quem eu era quando se casou comigo”, lembrei-a durante uma briga particularmente brutal.

Um casal discutindo | Fonte: Midjourney
“Talvez esse fosse o problema”, ela disse friamente. “Achei que você já estaria mais agora.”
No dia seguinte, cheguei cedo do trabalho, planejando surpreendê-la com flores. O apartamento estava silencioso.
A mala de Natalie e todas as suas coisas desapareceram.
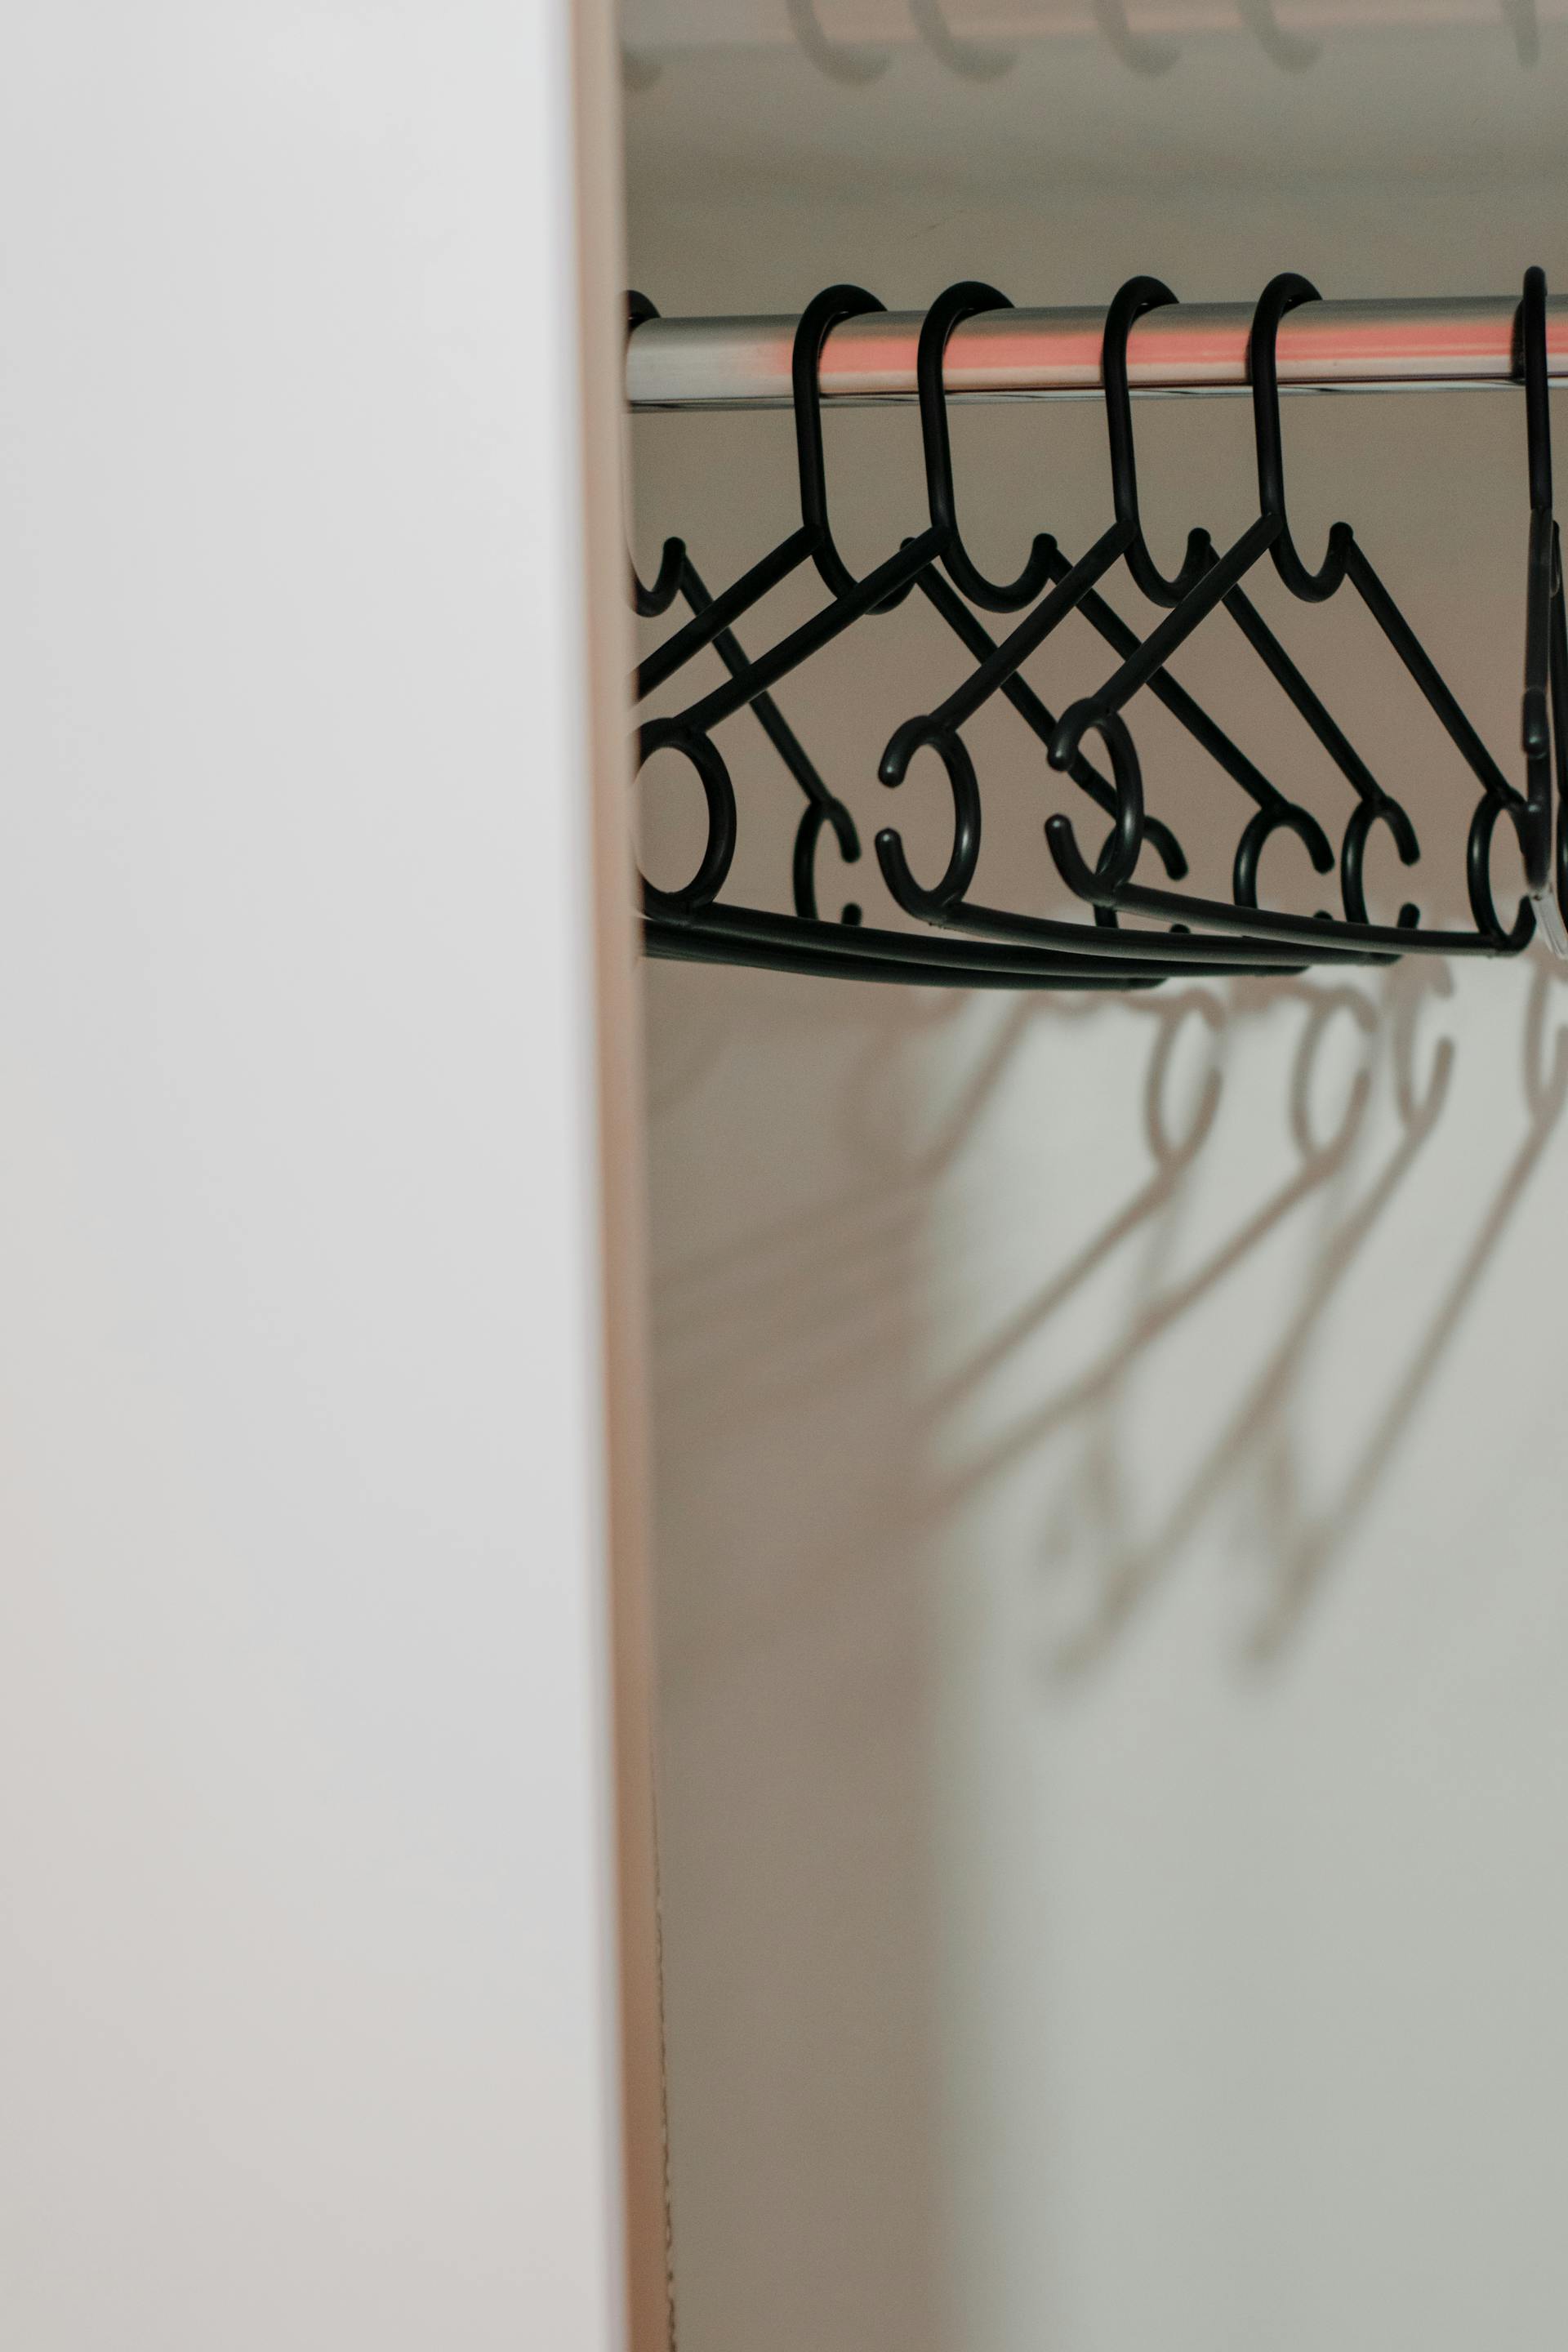
Cabides em um armário | Fonte: Pexels
No berço, encontrei um bilhete:
Quero o divórcio. Sinto muito, mas nosso casamento foi um erro. Deixei Emma com a Sra. Santiago no fim do corredor. Você pode ficar com ela.
Liguei para o telefone dela umas cem vezes. Nenhuma resposta. Dirigi até a mansão dos pais dela, desesperado e com os olhos arregalados.

Uma casa de luxo | Fonte: Pexels
O segurança não me deixou passar pelo portão.
“Você não é bem-vindo aqui, senhor”, ele me disse, parecendo quase arrependido.
“Por favor, só preciso falar com Natalie”, implorei.
“Senhor, preciso que o senhor saia do local.”
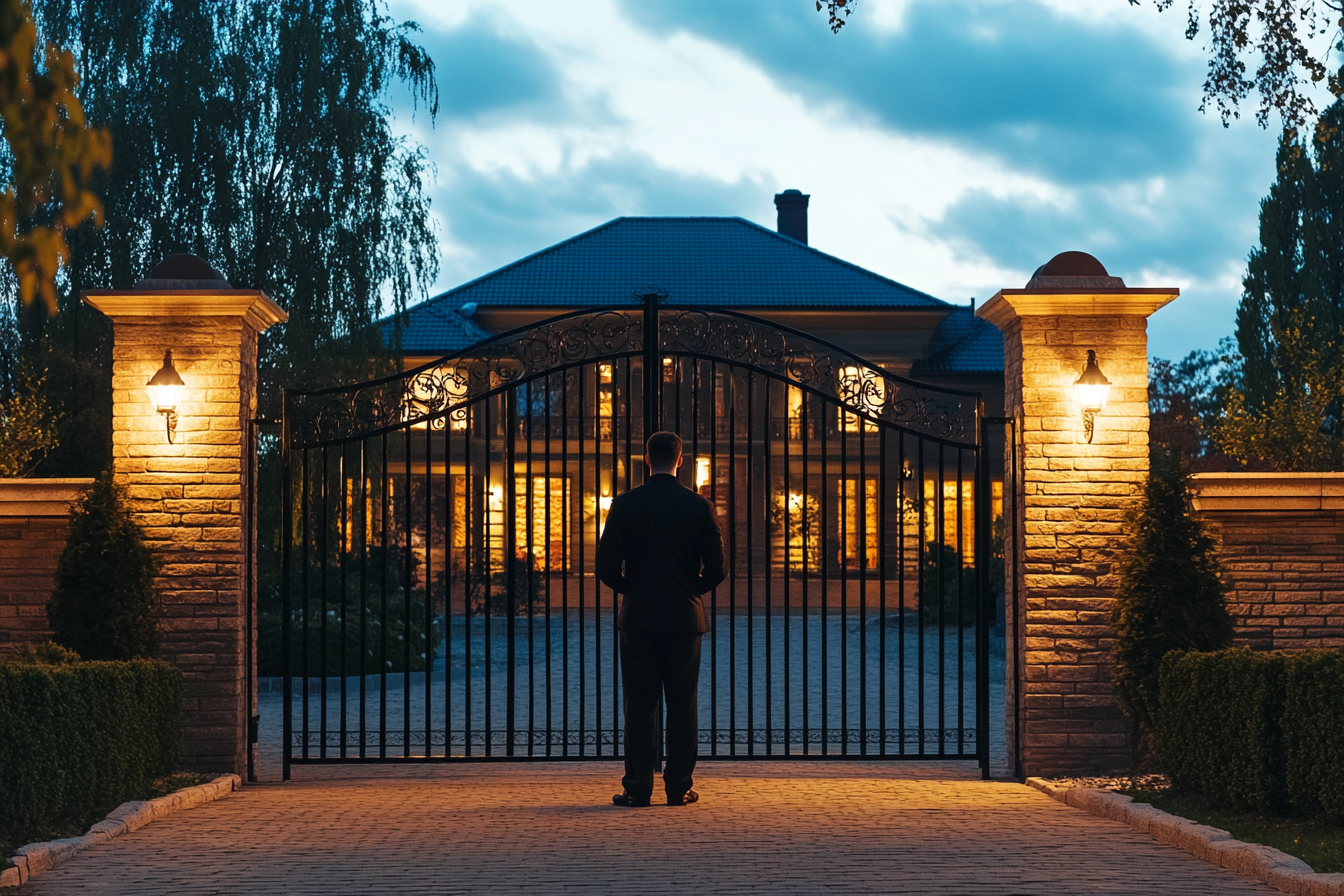
Um guarda de segurança em pé em frente a um portão | Fonte: Midjourney
Dois dias depois, recebi os papéis do divórcio. Natalie havia assinado a cessão de seus direitos parentais para Emma.
Os advogados de seu pai lidaram com tudo com eficiência brutal.
Então veio o golpe final.
Seis meses depois que ela foi embora, liguei para a casa dos pais dela uma última vez.

Um homem fazendo uma ligação telefônica | Fonte: Midjourney
“Ela se foi”, disse sua mãe, com a voz monótona. “Natalie morreu em um acidente de carro. Não ligue mais. Você não significava nada para ela.”
A linha caiu.
Desabei no chão da cozinha, soluçando até que Emma acordou chorando também.
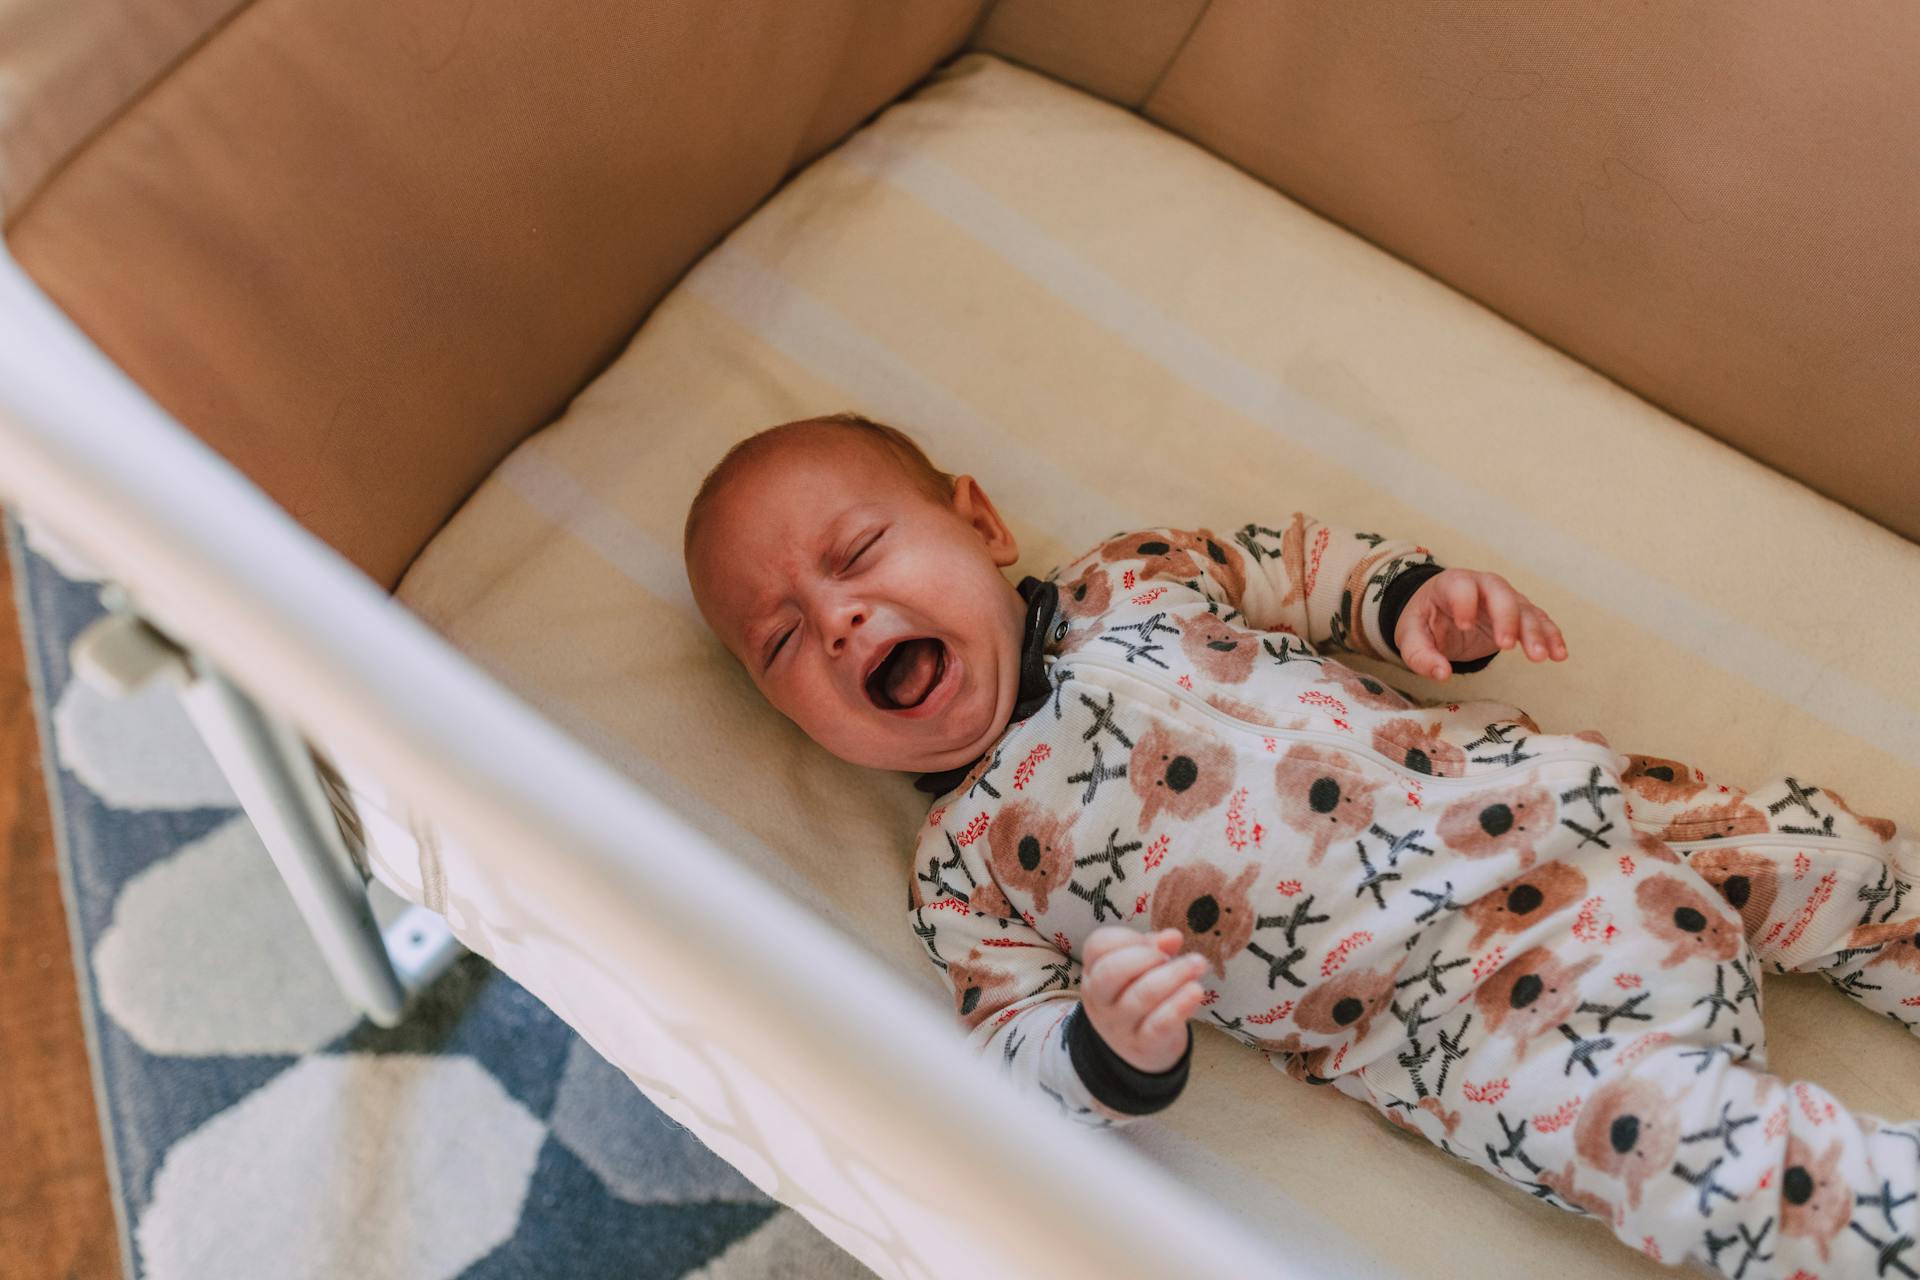
Um bebê chorando em um berço | Fonte: Pexels
Eles nem me deixaram ver o túmulo dela. Ela foi apagada da minha vida como se nunca tivesse existido.
Eu me joguei no trabalho e na criação de Emma. Terminei meu curso e comecei a projetar casas em vez de apenas construí-las. As pessoas notaram meu talento.
Em três anos, eu estava comandando minha própria empresa. Emma cresceu e se tornou uma garotinha inteligente e feliz, que parecia muito com a mãe.
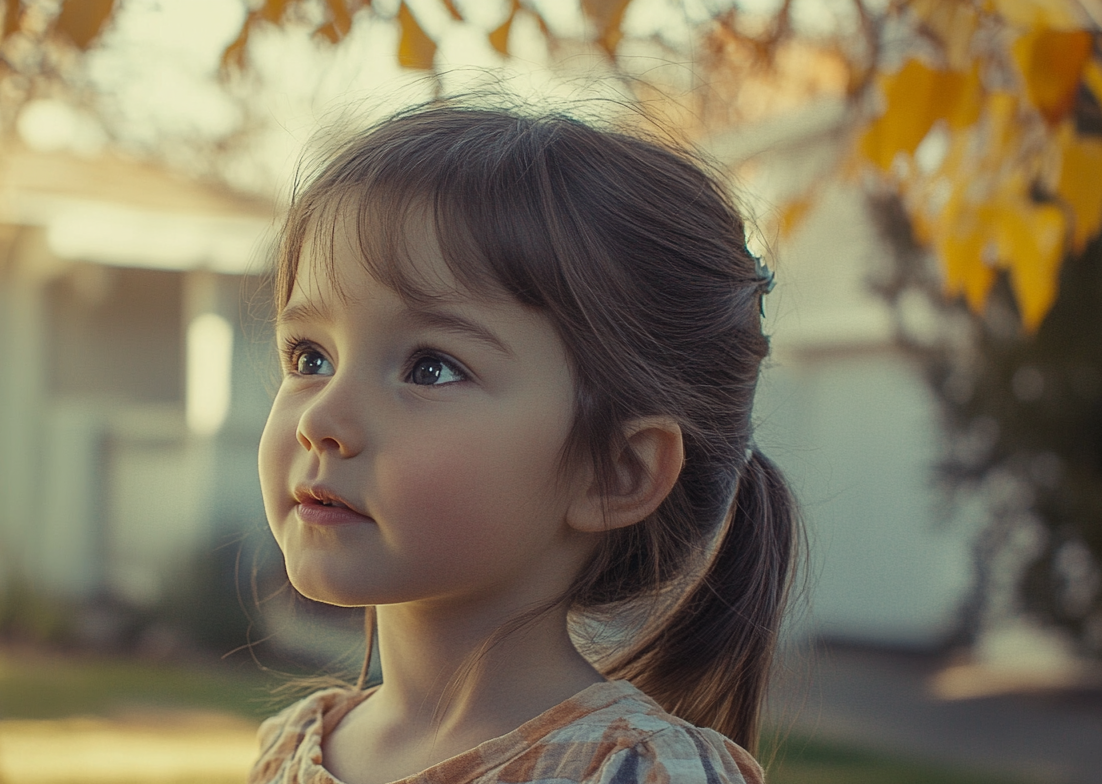
Uma garota olhando para alguém | Fonte: Midjourney
Cinco anos se passaram. A vida continuou e a dor diminuiu para uma dor ocasional.
Então chegou o convite.
Stefan, meu melhor amigo de alguns anos atrás, estava se casando. Nós lutamos para manter contato depois que ele entrou para o exército, mas agora ele me queria em seu casamento.
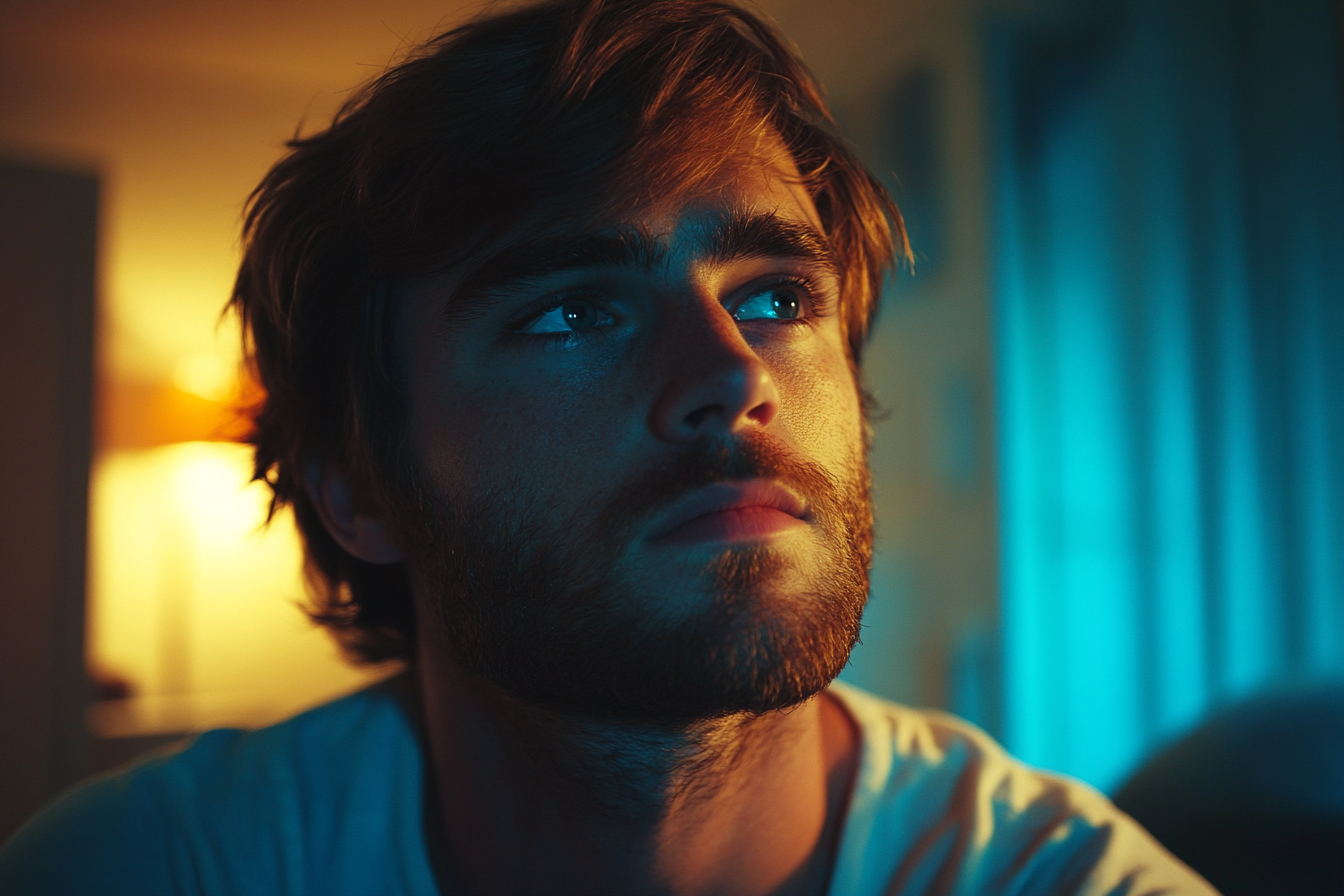
Um homem pensativo | Fonte: Midjourney
“O que você acha, Em? Devemos ir ver o tio Stefan se casar?”, perguntei à minha filha enquanto ela coloria.
“Haverá bolo?” ela perguntou séria.
Eu ri. “Certamente haverá bolo. Um grande e chique.”
“Então devemos ir”, ela decidiu, retornando à sua obra-prima.
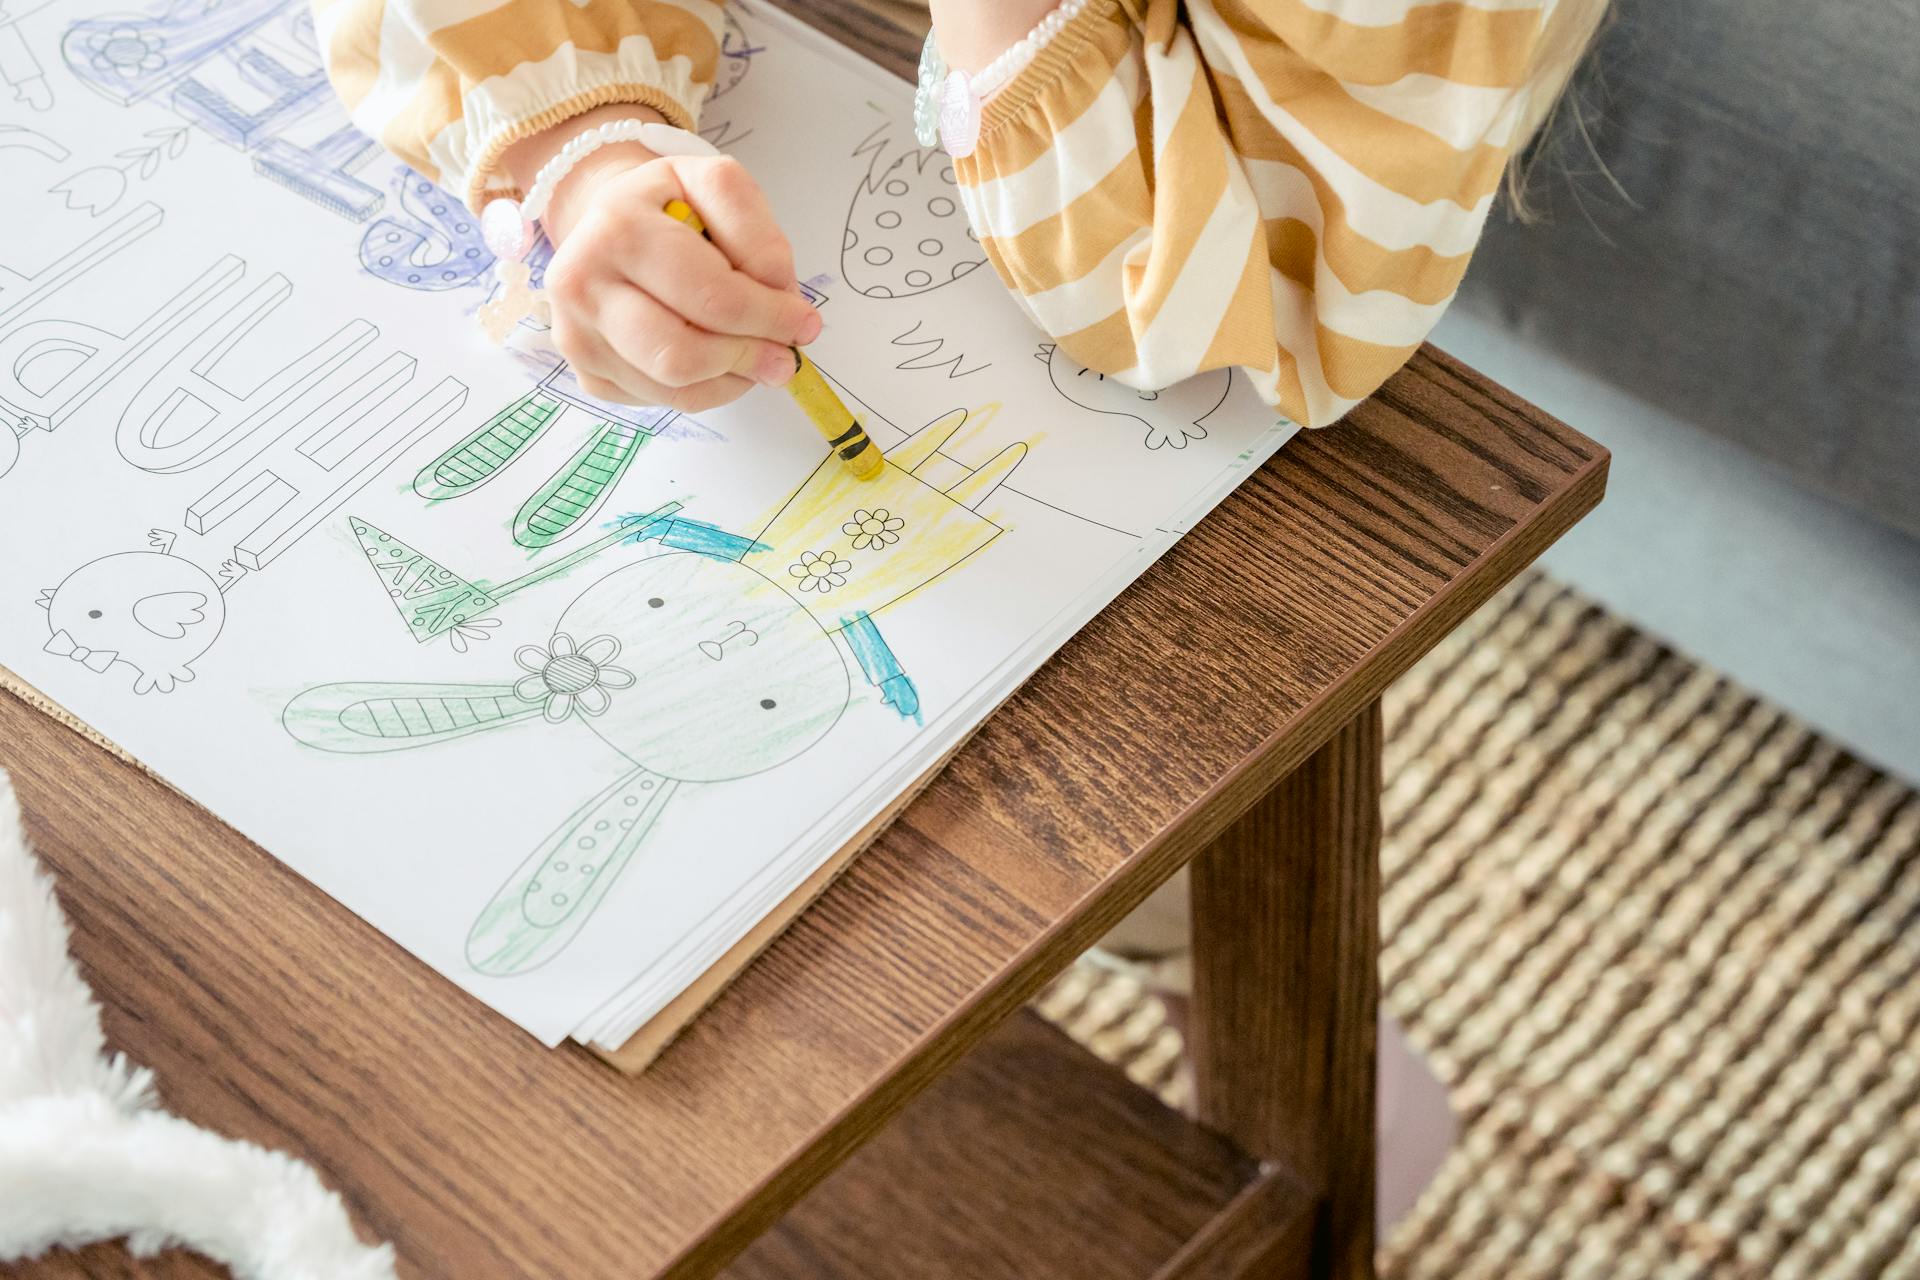
Uma menina colorindo uma imagem | Fonte: Pexels
O casamento foi em um resort à beira-mar, todo flores brancas e brisas do oceano. Stefan me abraçou forte quando chegamos.
“Cara, olha só você! Todo crescido e bem-sucedido”, ele disse, socando meu braço de leve. “E essa linda jovem deve ser Emma.”
Emma sorriu timidamente.

Uma garota sorrindo timidamente | Fonte: Midjourney
A cerimônia foi linda.
Os convidados encheram as cadeiras brancas na praia. Emma sentou-se ao meu lado, balançando os pés e brincando com a flor que eu tinha enfiado em seu cabelo.
A música começou e todos se levantaram.
A noiva caminhou até o altar com o rosto velado.

Um casamento na praia | Fonte: Pexels
Então chegou o momento.
Stefan sorriu quando ela se aproximou. Quando ela o alcançou, ele gentilmente levantou o véu dela.
Parei de respirar. Lágrimas escorriam pelo meu rosto antes que eu percebesse que estava chorando.
Emma olhou para cima, confusa. “Papai, por que você está chorando?”

Um homem olhando em choque | Fonte: Midjourney
Fiquei paralisado, olhando para o fantasma da minha ex-esposa morta, vestida em um vestido de noiva branco.
Natalie se virou para sorrir para os convidados, mas seus olhos se arregalaram em choque quando ela me viu ali com nossa filha.
Então ela saiu correndo.

Uma noiva correndo na praia | Fonte: Midjourney
Stefan chamou por ela, perplexo, mas ela já tinha ido embora. Eu fiquei de pé, com as pernas tremendo.
“Fique com a tia Linda”, disse a Emma, guiando-a até a irmã de Stefan antes de seguir Natalie.
Encontrei-a num corredor, trêmula, pálida, agarrada ao seu vestido de noiva.
“Você está morto”, sussurrei, minha voz falhando. “Eles me disseram que você estava morto.”
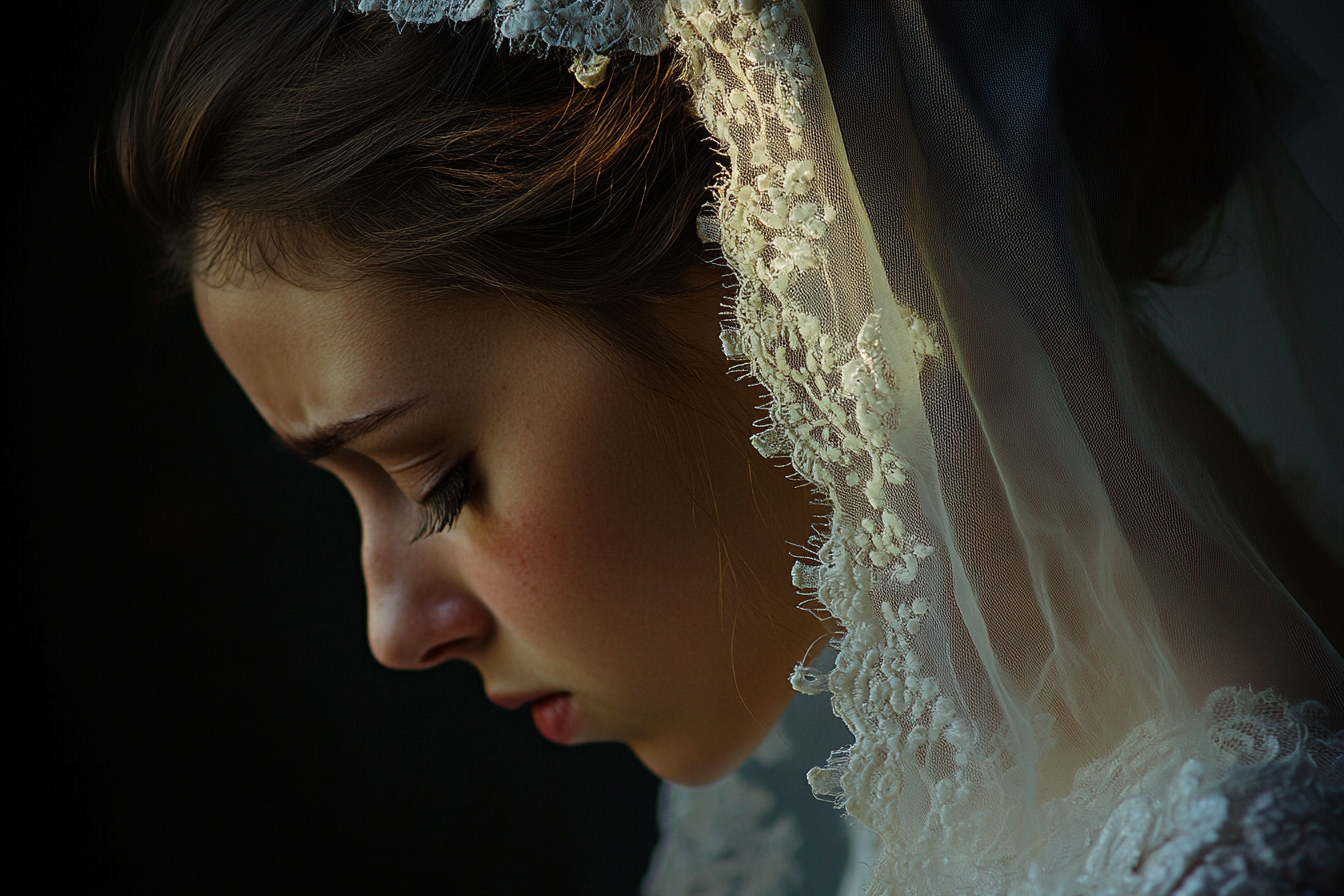
Uma noiva emocionada abaixando a cabeça | Fonte: Midjourney
Ela gaguejou: “E-eu não sabia que te disseram isso.”
Eu ri, vazia. “Eu implorei para que me deixassem ver seu túmulo. Passei anos sofrendo por você, Natalie.”
Lágrimas se acumularam em seus olhos. “Eu só queria uma saída… para começar do zero. Meu pai organizou tudo.”
A fúria cresceu dentro de mim.

Um homem furioso em um corredor | Fonte: Midjourney
“Você me deixou chorar por você. Eu tive que contar à nossa filha que a mãe dela estava morta! Uma coisa era abrir mão dos seus direitos parentais, mas isso? Que diabos?”
Natalie estremeceu. “Achei que ela ficaria melhor sem mim.”
Stefan apareceu, parecendo tenso e confuso. “O que está acontecendo? Por que minha noiva simplesmente saiu correndo do nosso casamento? E por que vocês dois estão brigando?”

Um homem confuso e preocupado | Fonte: Midjourney
Virei-me para ele. “Porque há cinco anos, ela me deixou e à nossa filha. E então a família dela me disse que ela estava morta.”
“O quê?” O rosto de Stefan perdeu a cor.
“O pai dela mandou advogados cortarem todos os laços. Então eles me disseram que ela morreu em um acidente de carro. Eu a lamentei. E agora a encontro no altar, se casando com meu melhor amigo.”
Stefan confrontou Natalie. “Diga-me que você não fingiu sua morte.”

Um homem furioso confrontando alguém | Fonte: Midjourney
Ela não podia negar.
“Meu Deus, Natalie”, Stefan sussurrou, quebrado.
Stefan foi embora, rosto pálido, punhos cerrados. O casamento foi cancelado. Os pais de Natalie apareceram do nada e a levaram embora.
Eles não me disseram uma palavra. Mas eu não os segui. Não dessa vez.

Um homem observando algo com um olhar severo | Fonte: Midjourney
Duas semanas depois, Stefan e eu nos encontramos para beber.
“Ela enganou todo mundo”, ele disse amargamente, olhando para o copo. “Os pais dela nos apresentaram em um evento de caridade no ano passado. Ela nunca mencionou ser casada antes ou ter um filho.”
Eu assenti, mas estranhamente, me senti em paz. “Você não poderia saber.”
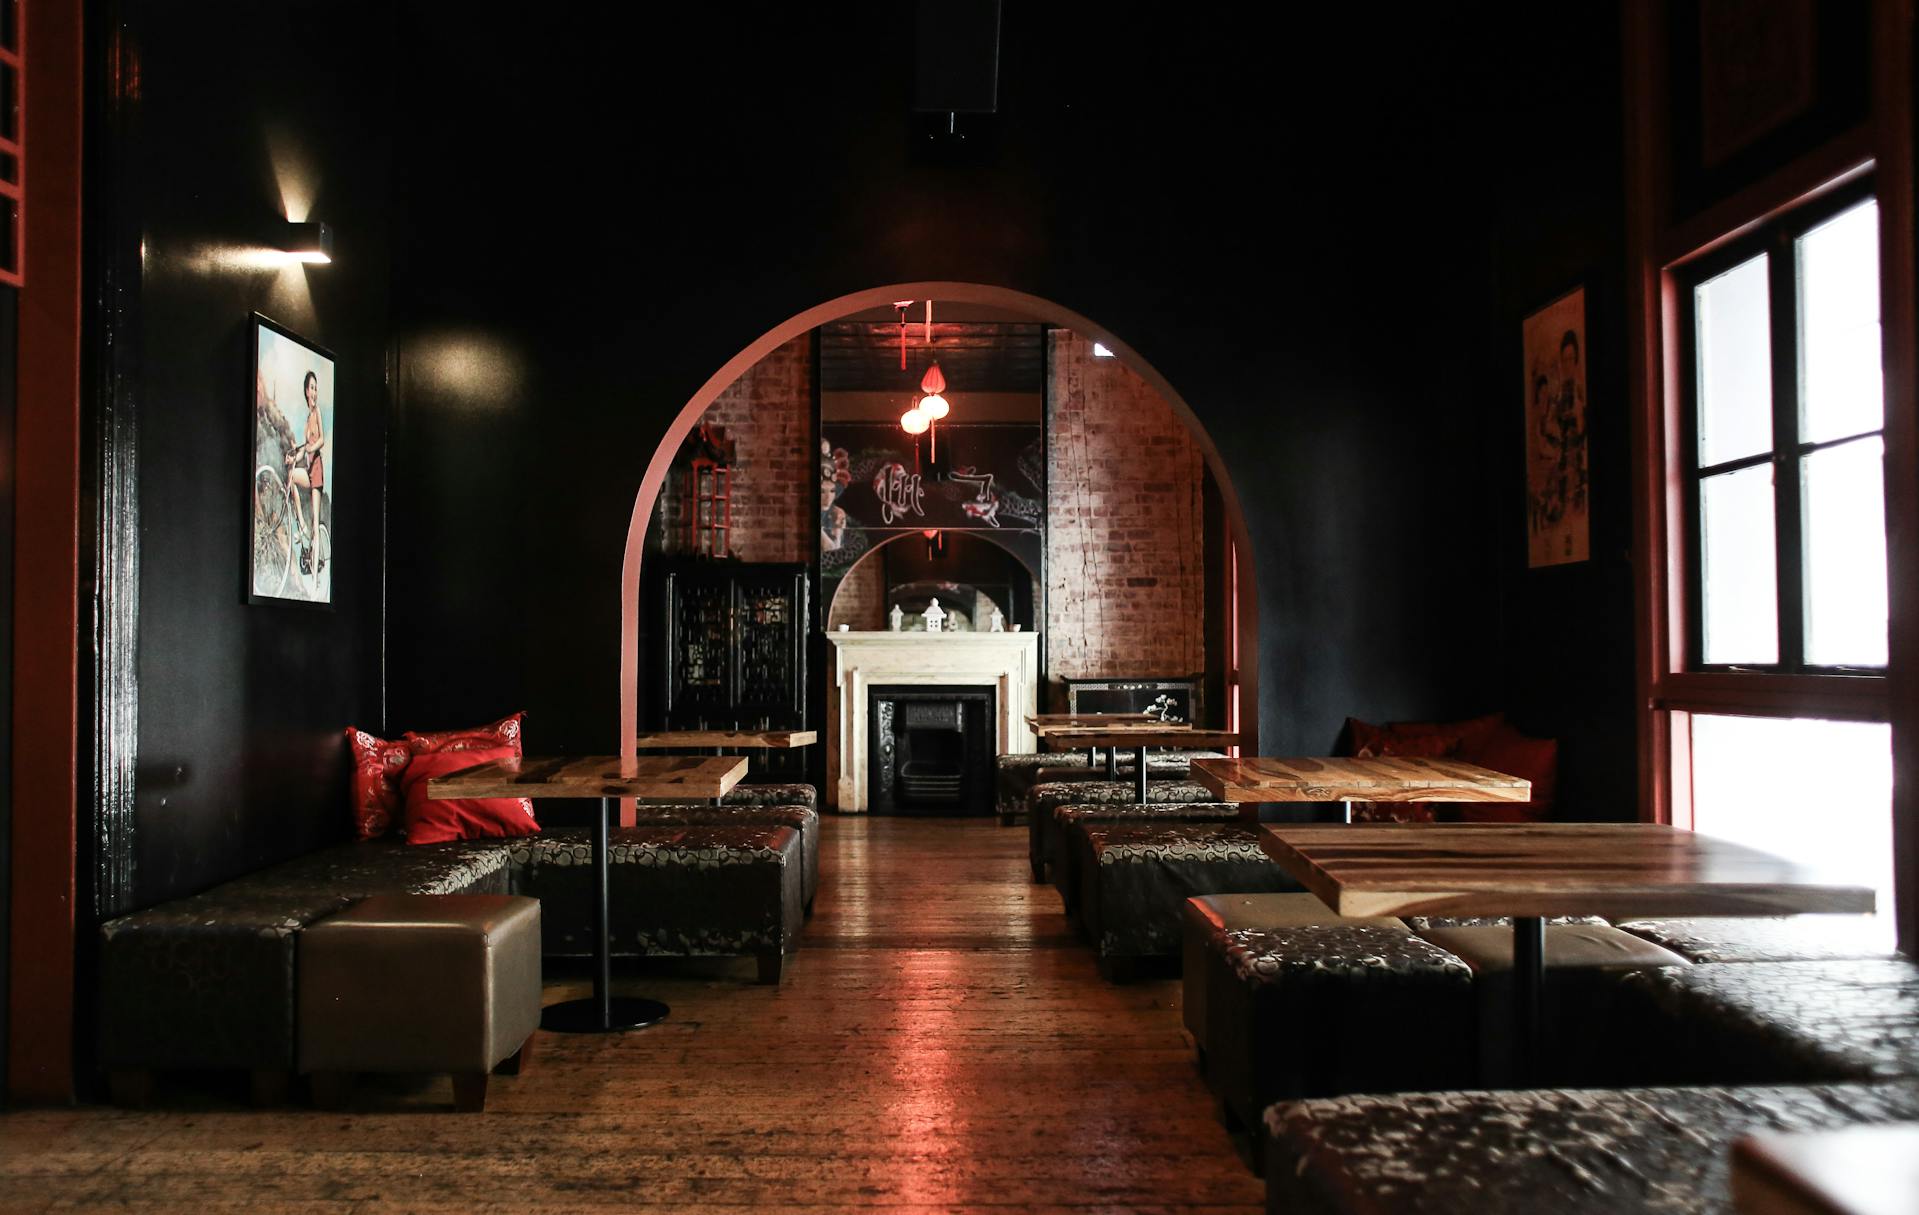
Um restaurante estiloso | Fonte: Pexels
“Você está bem?” Stefan perguntou.
Eu considerei a questão. “É, acho que sim. Por anos, eu me perguntei o que fiz de errado e por que ela foi embora. Agora eu sei que não era sobre mim, de forma alguma.”
Percebi que não estava mais quebrada. Eu tinha minha filha e minha carreira de sucesso agora.
Um homem pensativo | Fonte: Midjourney
Eu tinha construído uma vida apesar dos destroços que ela tinha deixado para trás. E pela primeira vez em cinco anos, eu me senti verdadeiramente, completamente livre.
Fiquei emocionada por finalmente compartilhar meus convites de casamento — completos com uma foto minha e do meu noivo — com meus três amigos mais próximos. Mas em vez de excitação, obtive silêncio. Então todos recuaram, um por um, com desculpas esfarrapadas. Algo estava errado… e eu estava prestes a descobrir o que era.


Leave a Reply